|
The Inspiration~
After viewing the movie The Other Boleyn Girl; I was very inspired by the Tudor style costumes and felt that it would be
great fun to make a Tudor-styled yet functional modern-day outfit. The French Hoods were so lovely that I wanted to make one
just for a photo shoot.
I researched the subject of French Hoods and studied a few patterns. Most had an actual hood or veil incorporated into the design. My goal was to
showcase beautiful hair rather than to hide it under a hood. In the end, I sat down and designed my own pattern which has both a front and a back to the base coronet form.
Please note that this is a Tudor-inspired head piece but was NOT intended to be historically accurate.
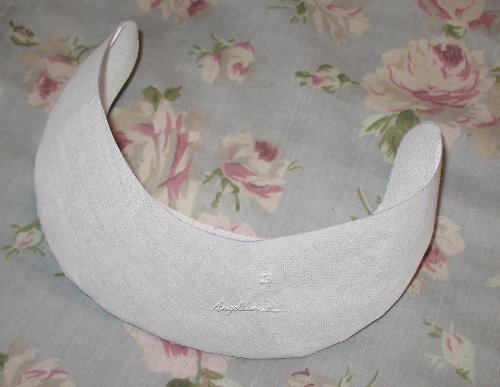
Here's the original buckram frame that I designed. It
was cut on the bias to provide a little more flex and
has a machine stitched seam down the center.
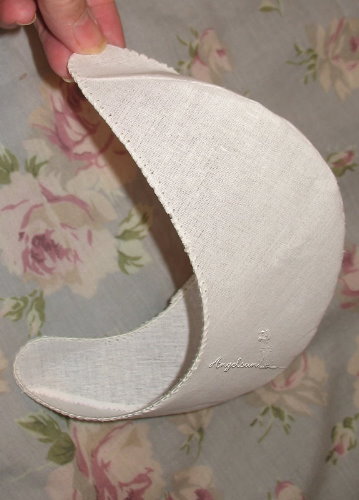
I whip-stitched 21 gauge millinery wire to the edges of the
buckram frame.
The wire is then encased in bias tape. It
was hand sewn in place.
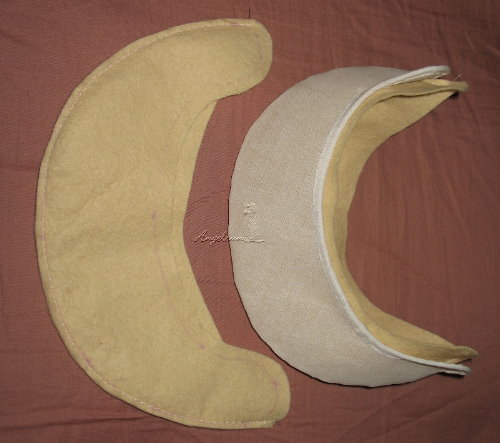
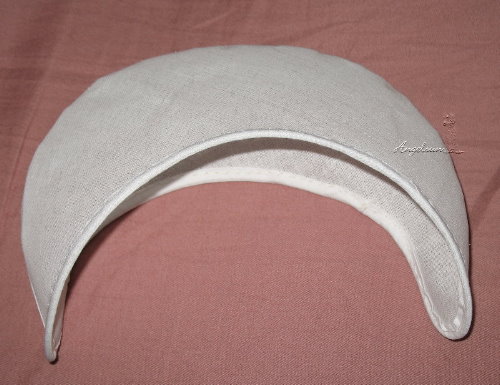
Using my template pattern, I've made inner
and outer padding from English wool felt. For the inner padding, the seam was taken in about 1/4" more to fit inside the
frame.
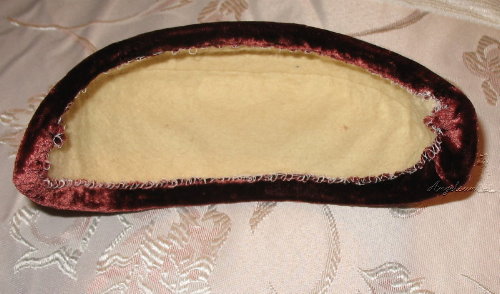
Here, I'm test fitting the inner and outer felt pads.
I used a brush to spread Resin glue on the entire inside of
the buckram frame. The inner lining was then pushed into place. In retrospect; I probably should have only glued the edges as it was
difficult to get the piece centered and smooth.
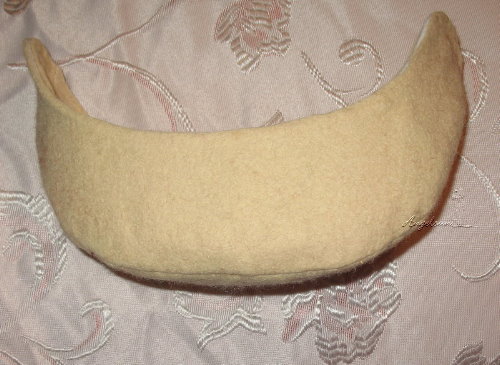
The outer felt was attached with glue just at the edge of the frame. I let the frame dry overnight and then trimmed off the
excess felt to meet with the edge of the buckram frame.
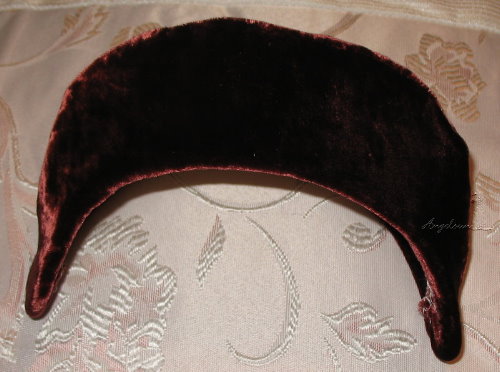
The covering fabric is silk velvet. While it has a wonderful, changeable
appearance--it's NOT a fabric for beginners. I test fitted it and then trimmed the edges so that there was about a 3/8" overlap. Then, the edges of the
entire piece was serged.
I pinned the covering into place and hand sewed it to the felt padding.
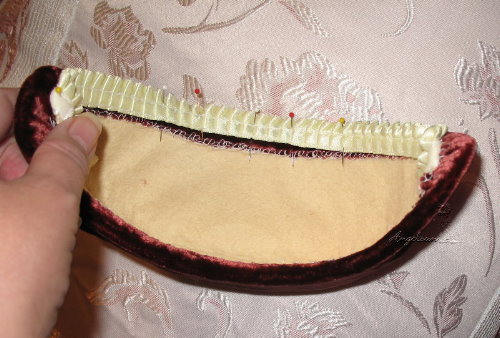
Here, the pleated French trim is pinned to the inside front of the hood.
The trim is left the widest at the center and then tapers back and ends at the center frame seam on each side.
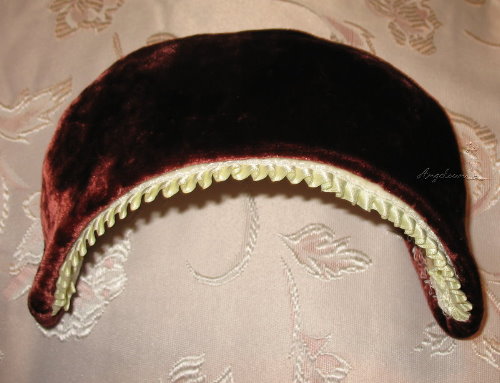
Here's the hood with the pleated French trim sewn into place.
One of the problems that I had read about regarding French Hoods
is keeping the hood in the hair. This particular design does balance well on the head--probably due to the addition of a back section and lack of a hood or veil.
I decided to leave the inside unlined, so that the
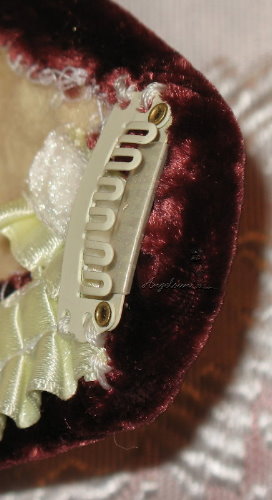
wool felt is in contact with the hair rather than a slippery lining. For some extra security, I sewed in hair extension clips on each side point of the
French Hood. Photo shoots with the afghan hound are always a bit of an adventure!
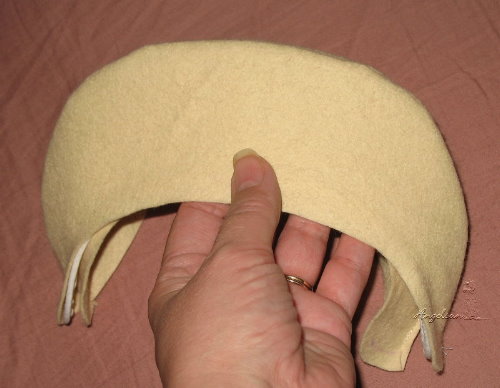
The clip is shown in the "open" position here. Once in place, just push gently towards the head and the clip will snap shut securing the
French Hood to the hair.
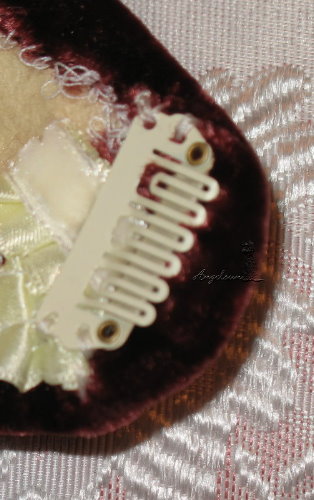
The clip shown closed (as it would be in the hair).
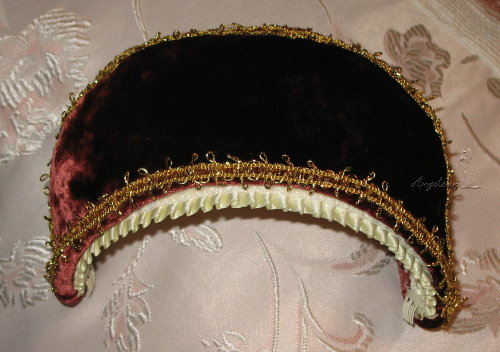
The gold trim that I purchased looked a bit too glitzy. I removed the center ribbon and then
soaked it in vinegar and wrang it out. It seemed to dull the color somewhat and give it a more distressed look.
The trim was then pinned to the center seam and edges of the hood and
hand sewn in place.
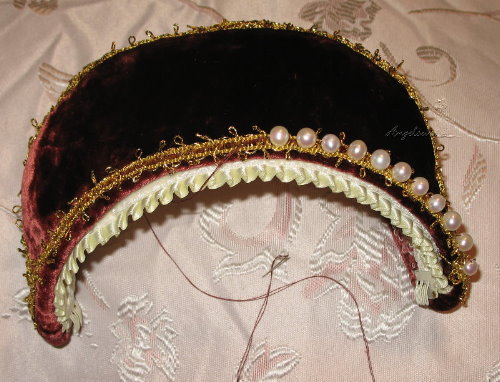
The final touch for my hood is real freshwater pearls. They vary just slightly in size being a
natural product. I used my trim as a placement and sewed one in the center between each looped section.
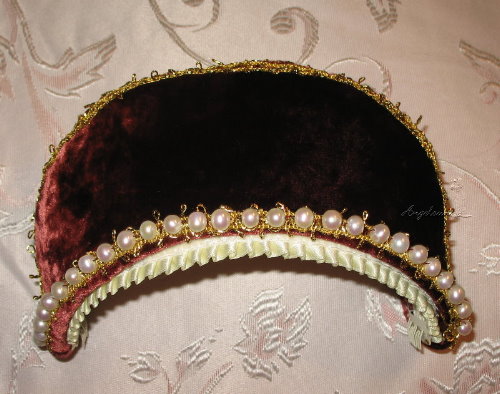
The pearls on the bottom front completed.
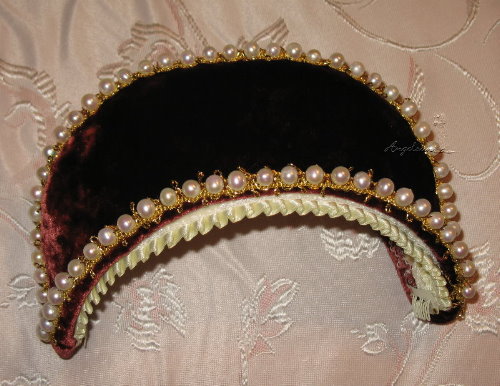
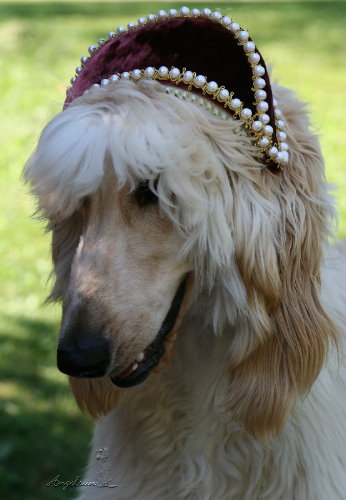
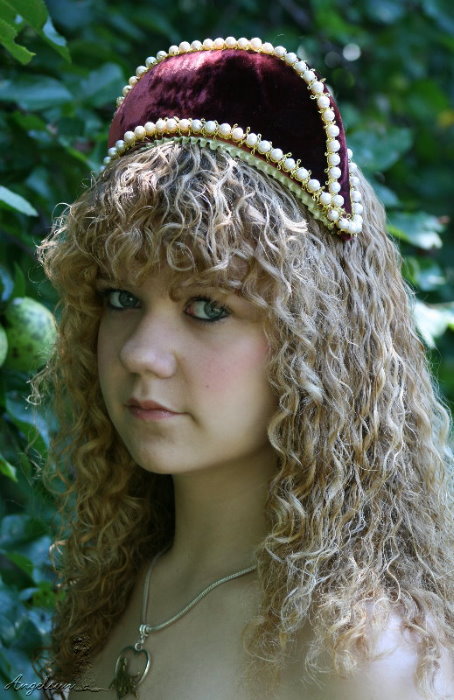
My completed French Hood.
And, now it's on to the
jacket!!
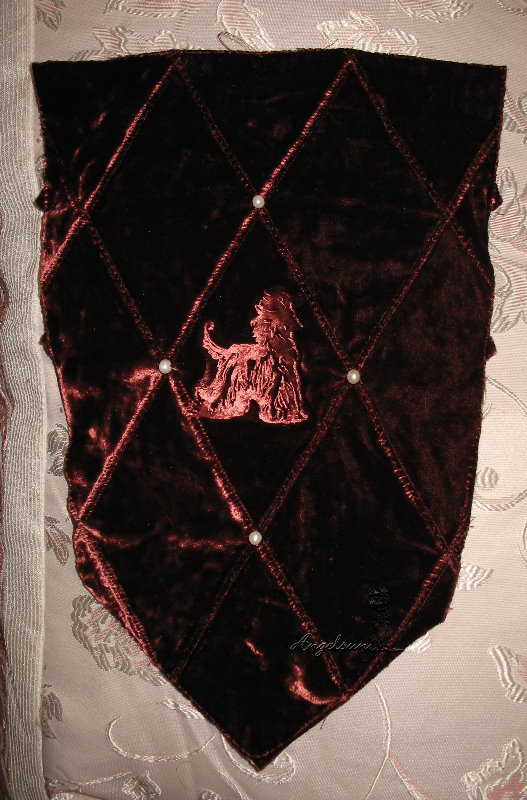
The center panel for the jacket is shown here. I created
the diamond pattern with a double sewing machine needle. The afghan hound was then burned into the center with a rubber stamp and
a hot iron. This process is known as "velvet stamping".
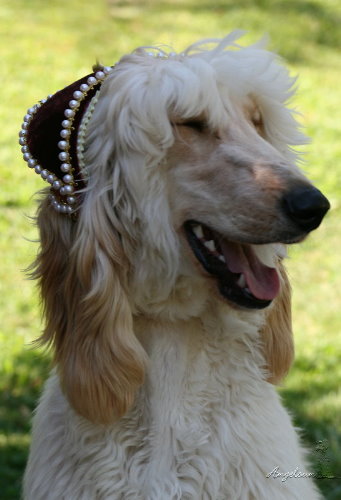
Geisha our afghan hound had a great time modeling, but
the French Hood really belongs to my daughter. :)
|